• Help Support TNDeer:

Gonna start a new build.

Good time Charlie

Well-Known Member
Joined
Oct 8, 1999
Messages
10,435
Reaction score
88
Location
On the river
If you would like to follow I will post my progress.
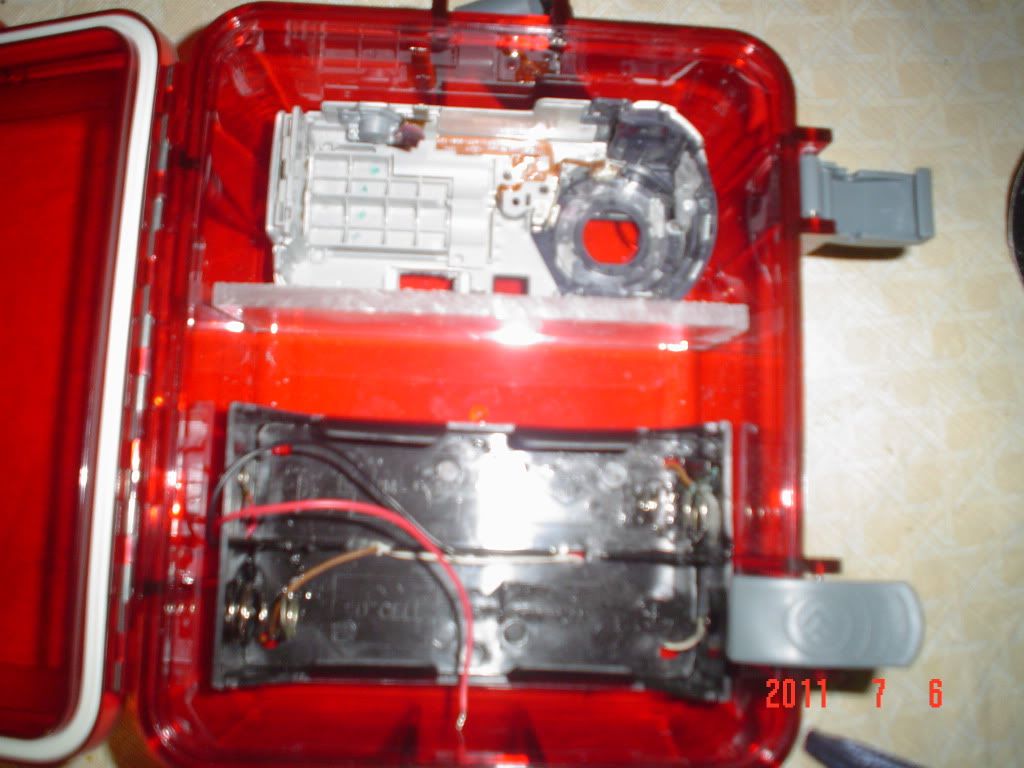
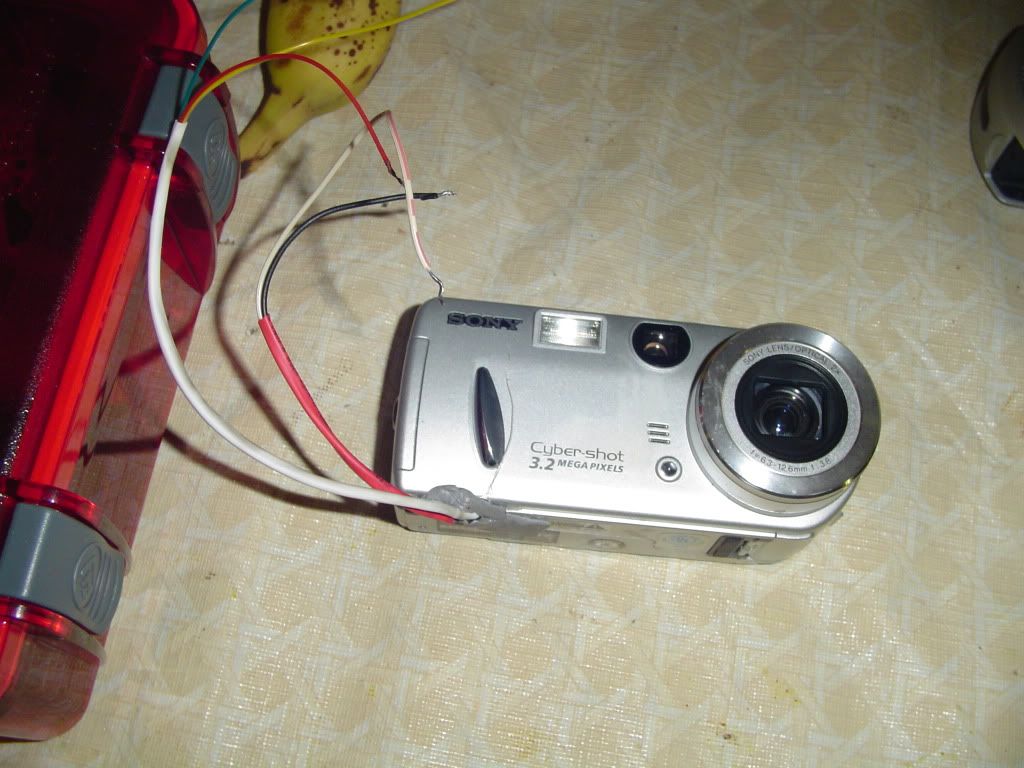
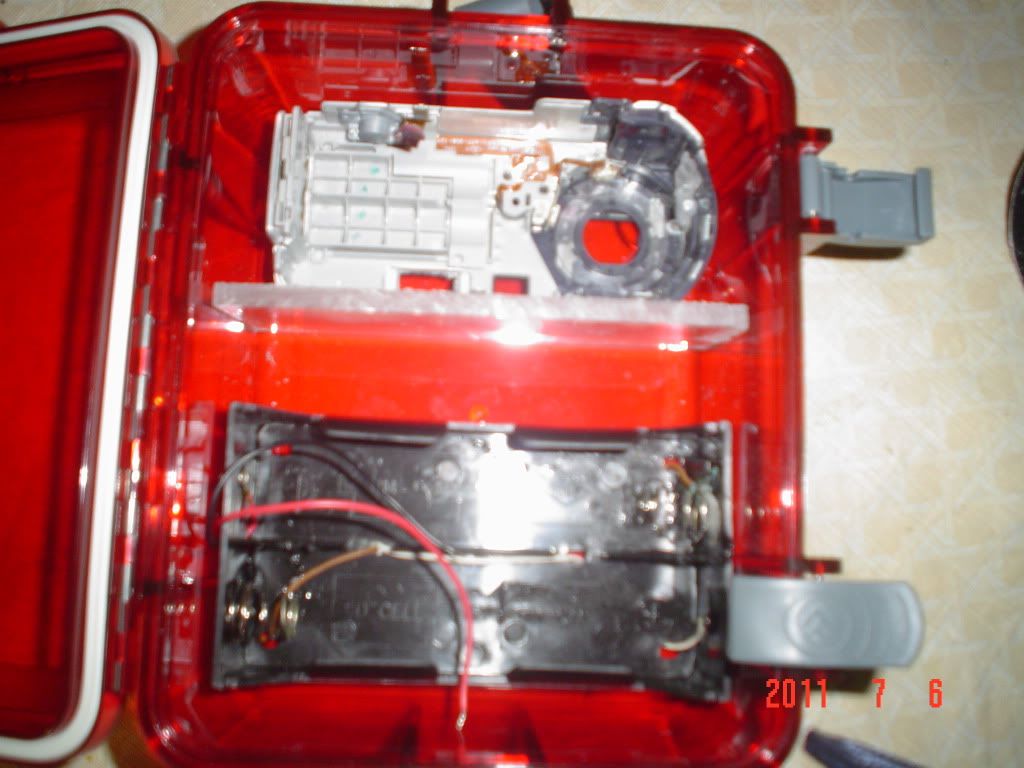
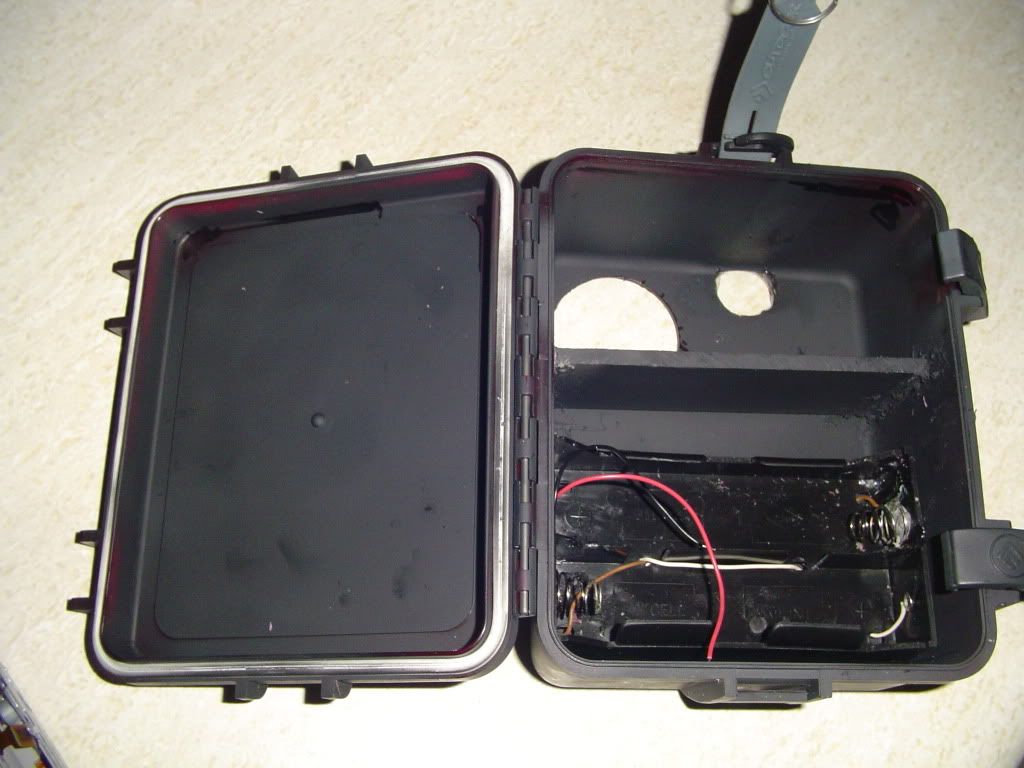
Here is what I have ,Gonna use a Wal-mart box on this one tested and done good underwater for 2 min.

018-2.jpg


019-4.jpg


020-3.jpg


Gonna slide a little sniper board right below the shelf and above the Battery Box.Which 4D;s will give me 6 months service on this build.A HPWA for a fresnel.A little camo job and it will be ready.Stay tuned and you will see you an do this.
 
That will be a nice addition to your arsenal. I done one a couple months ago inside a wally box. Nice fit for the P52, ran SSS, and HPWA lens, also ran D batteries. Good combo

Keep us posted
 
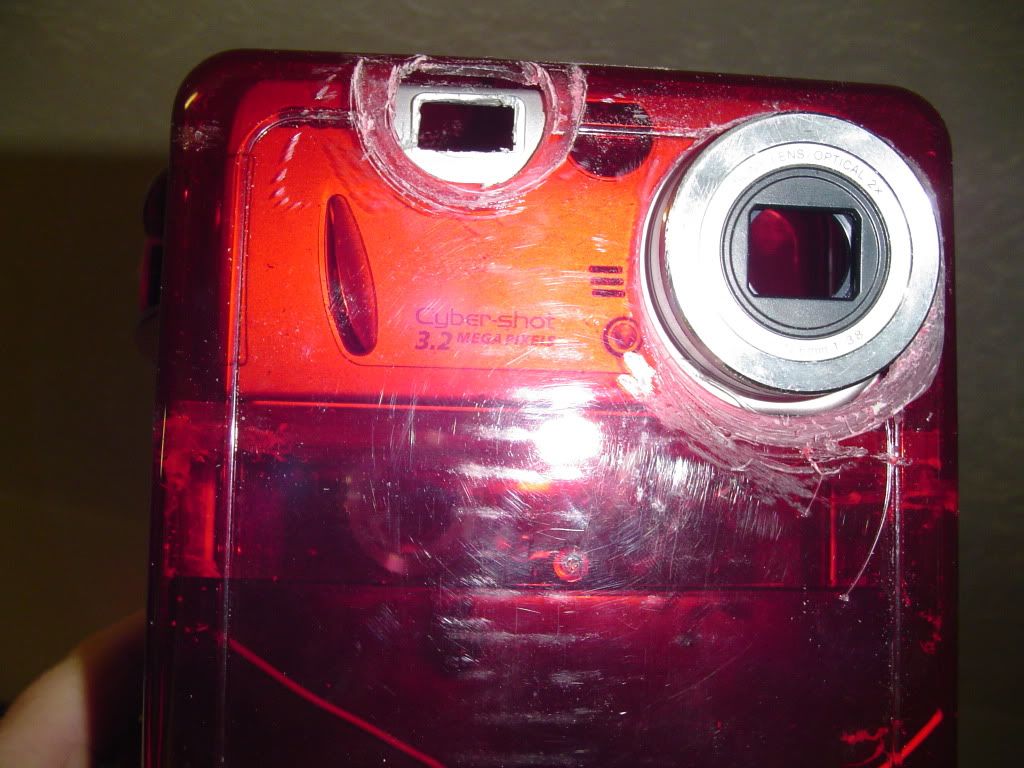
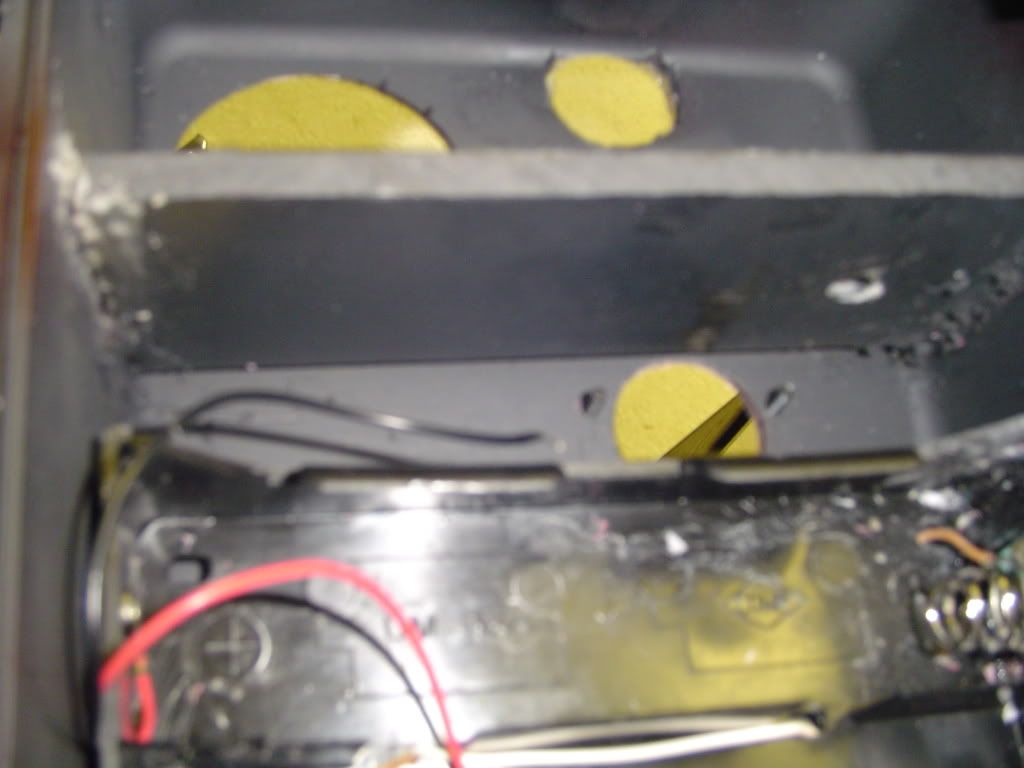
well here it is with the holes drilled I used a 2 inch hole saw for the lens ....hole and a spade bit ...2..of them 1.5 and a 1 inch for the flash hole,1.5 to countersink it...since I glue mine from the outside. Most people use forstner bits.
Next I will pull everything out let the glue dry on the shelf And Paint it good on the inside with a flat black paint.Thesse
cases tend to have flash bleed if you do not put a barrier between the flash hole and the lens.
I should have drilled a hole if I were to use a thumb screw in the tripod hole ...but I think I will just cut a slot to slide the cam in and out,still using the thumb screw.
You have to think out in the field ,what would be easier
I think it would be easier to slide the cam. out and remove the mem. card...or check the LCD screen.I have big thumbs and fingers.Well enough babbling here it is up to this point.

025-2.jpg


019-5.jpg


Stay with me on this if you see something that we can improve on ,do not be bashful,let me know.
We will finish this in a day or so ,I am doing this to show you guys even a a guy with 2 left hands can do it.We will clean it up pull everything out and giv e it a good coat of paint tommorrow.See that little area between the shelf and Battery ...well that will be where the sensor board Simple sniper will go.I see I need to Knock the silver finger hold off to.That would be to get it to lay flush.
Looks rough now but it will take shape.

something very important ,I left out...YOU MUST MODIFY YOUR 4 D CELLS,run pos to pos neg. to neg,clip the connecting terminals
you should have 3volts or a little more,...If you fail to do this mod you will fry your cam,with 6 volts.
4 AA 6volts
4c cell 6volts
4 Dcells 6 volts Get the pic. it is all about amps.
4 D will last 6 months in the field
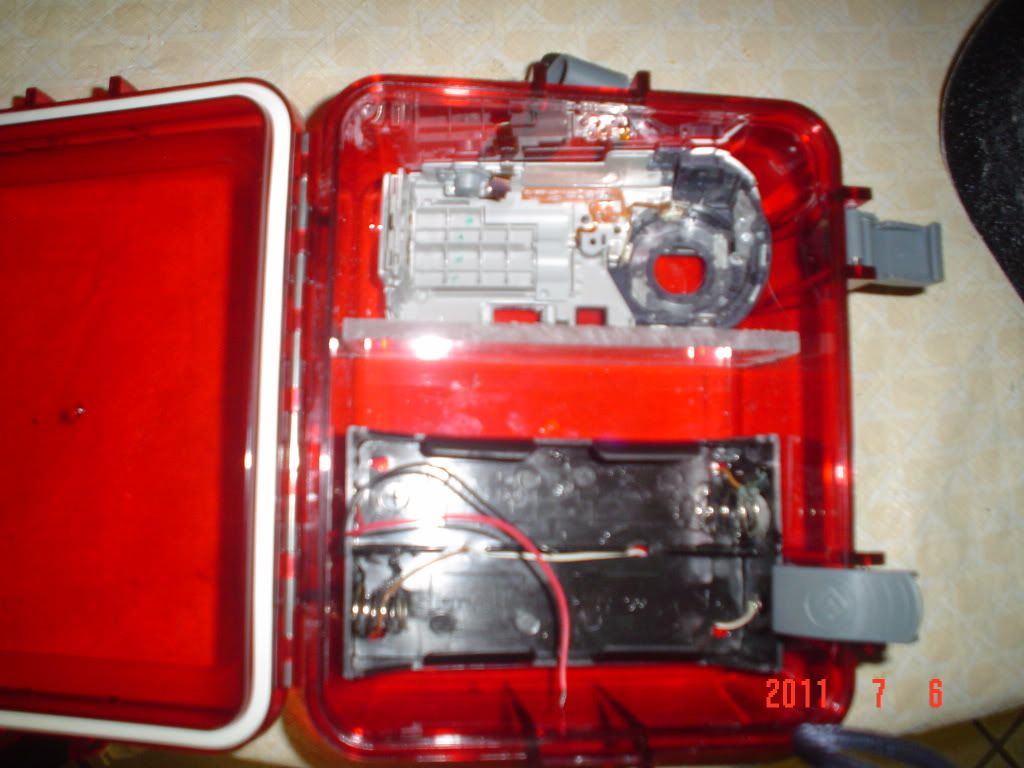
 
Well we are making good progress, I have it painted will prob. paint some more tommorrow,
Will be making the snorkel next,several ways to do this no right way or wrong way as long as you have a hole for your cam.I already have a lens glued in for the flash ,be good to add a flash enhancer,P52;s are not known for their flash.Will add a gasket tommorrow.


029-1.jpg
 
Sorry I have not talked to you carl,some one shot Lucy my beagle,
I have been mad at the world.
Went to check a cam yesterday and Baby my Cur dog jumped a fawn and the fawn run right to me,Almost took a Butt whooping,Had to talk the momma out of it.Over where you hunt.
 
OK here we go ,...I should have told you to drill for a pipe thru at this point ...if you were going to lock it up with a python.
I have the holes drilled for the board and a hole drilled in the shelf,for my wires,since I run my hard wire out the Tripod hole ...that rules out using it for an anchor point.
Here is some pics.

122-1.jpg


123.jpg


I wired my cam and board up before I placed it in the box ,No room to work with these big fingers.

124.jpg


I will do the snorkel and do a camo Job put a HPWA on it and we will be ready for the woods.I have 73.00 in this build so far
will stay well below 100 bucks when done.
The pic. from a Homebrew are far better then a comm. cam.
And this P52 is the easiest cam. to do an IR on,
 
It's looking good Charlie. I may get you to help me build one soon. Sorry about Lucy. It doesn't surprise me what some people will do.
 
Hold bejeez...I WANT TO TRY IT....but you lost me once you started talking about switching pos to pos and neg to neg...im not good with that stuff...plus I do not get how to wire the camera to those other parts...how long does it take to build 1 camera that size? Very interested...I am no good with electronics but do you think I could learn how? by the way it looks great!
 
Very easy the hack is the same as the P32 go to you tube and watch buckshots tutorial on how to hack a P32.
Very easy you just insert a Little SA under the power ribbon.
I could do one non stop in a couple hours,if I had everything I needed,but that seldom happens,you always are out of goop or solder or need a HPWA.
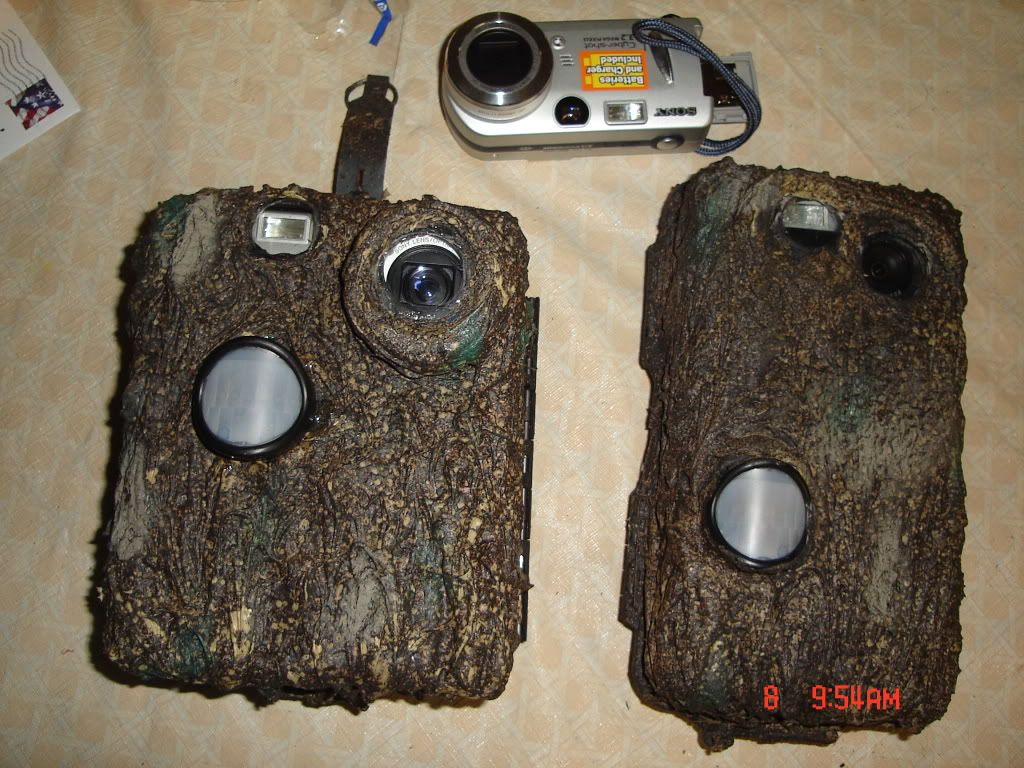
I know it looks a little rough,but when I put the camo on it.Liquid nails ...you will not Know it.
Like I said before if you are going to use your cam on public land you need to lock it up(drill for a pipe thru) and perhaps do an IR on it .You cannot see the flash.But your Pics are in Black and white at night
 
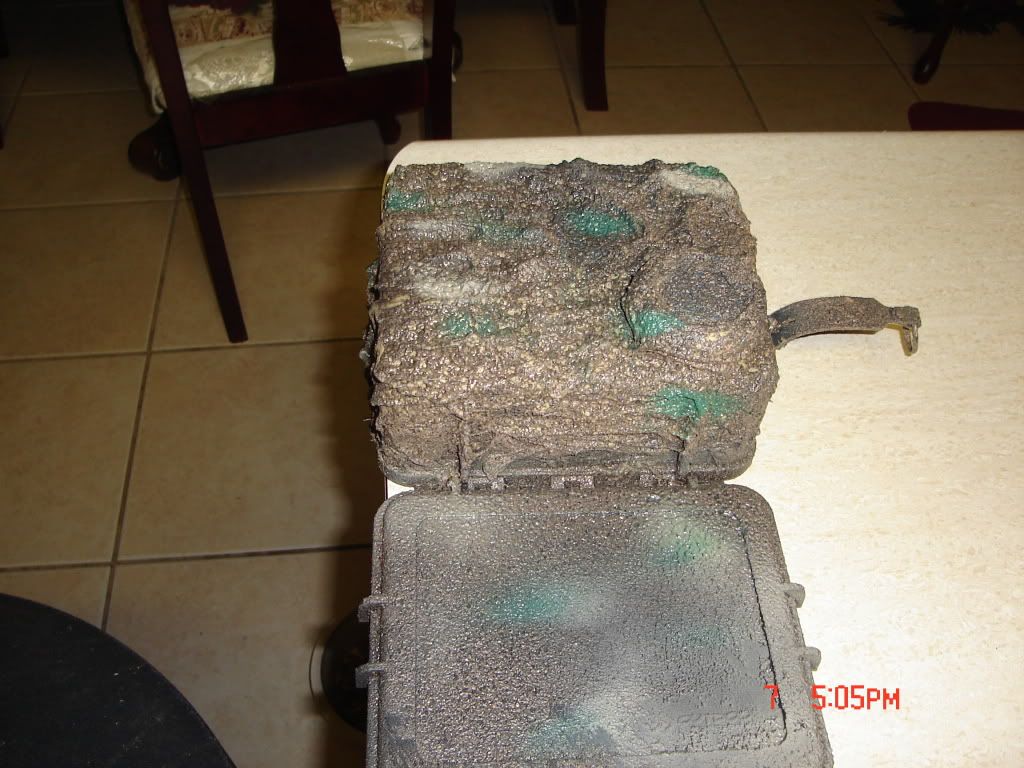
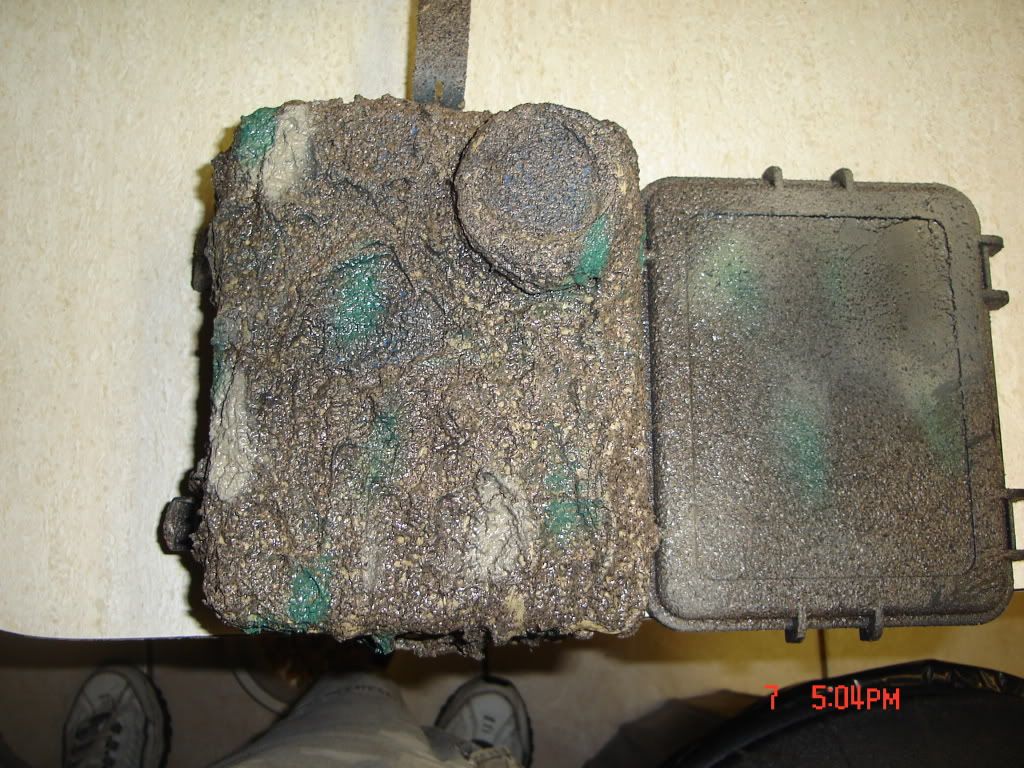
Well here it is painted ,little women brought me in some of this new stone paint,slicker then snot

015-5.jpg


011-4.jpg


All I lack is to put my board in and test it put Battery;s in and off to the woods Still have to put the HPWA in ...I painted over the tape where it will be.But it turned out well I think .
Just wanted to show some of you how easy it is to build your own cam.I have well under 100 bucks in this cam,I will show you in a couple days at the quality of the pics.
 
Loaded it with 4D;s and it fires like a gatlin gun,
Going to be a nice cam,.......I can leave out all year.
From now until the end of deer season.I may charge the cam. Rechargeables,but that is it.I will have to put it on feeder mode.
Had one on trail mode and 2 days had 244 pics.
 
Well here is the final pic.DONE.. came in at 73.00 bucks and took 2 days,had most of the tools.
It works great .I will Post some pics soon as I get them.

003-8.jpg

I made another one while I was waiting on this one.Both are powered by 4D;s 6 month;s of use .
 

Latest posts

Back
Top