PMC certified
Well-Known Member
Ok, I�ve just refinished my sons stock and thought I would share the process. First let me say, prep work is everything. I have done paint and bodywork before so I prepared for a long process.
I started by acquiring a stock a couple of years back. It is a Remington Ti takeoff. It had previously been bedded and had a 1� pad on it. I cut off the pad to get to a shorter LOP for youth length.
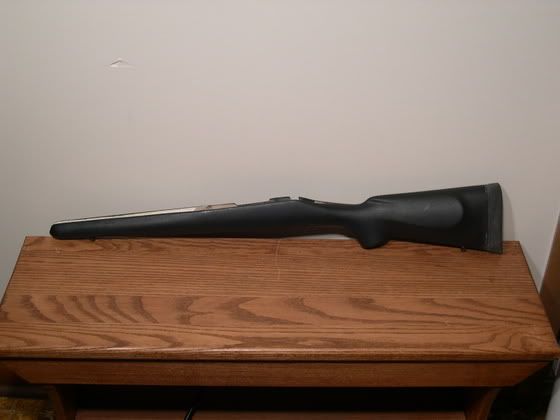
Next I installed a secret special pad. It is cut from a .99 cent flip flop. I superglued it in place and the ground it down to close to final dimensions. The project then sat for a few months waiting.
After a couple of months I was ready to bed my action. It took a few hours with a dremel to remove the old bedding. I bedded the action and 1.5� in front of the lug with devcon steel bed. It turned out ok, a couple of voids but nothing too bad. With the action completed I turned to the barrel. The previous owner had opened up the barrel channel. I wrapped the barrel in 7 layers of clean release masking tape (blue) for a thickness of .035� free float.
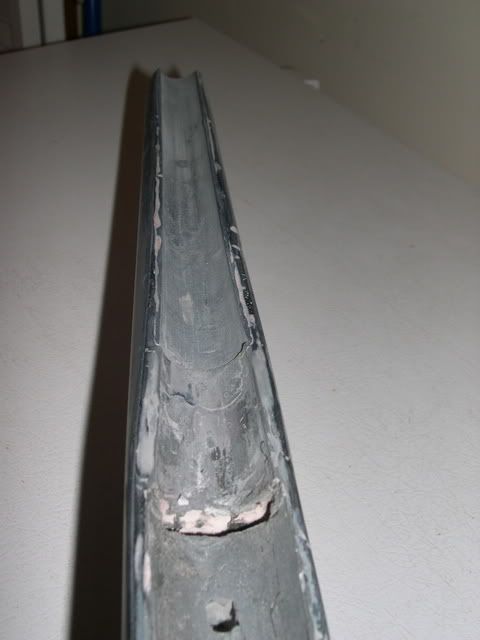
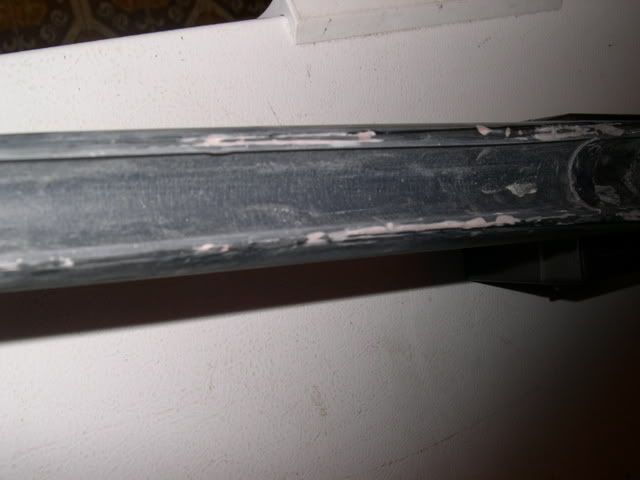
With the bedding complete, I turned to the exterior. Ti stocks come with a black pimply finish. I started sanding with 150 grit and a sanding block. A few imperfections were fixed by making up small batches of bondo. When the bondo dries you sand it back down. After the 150 grit comes 220 and the 320. When the stock is close I sprayed the first primer coat. I used gray. This really shows the imperfections. A little body putty (kind of like premixed bondo in a toothpaste tube) and some more sanding with 600 grit then 800, 1200 and 1500 wet sanding.
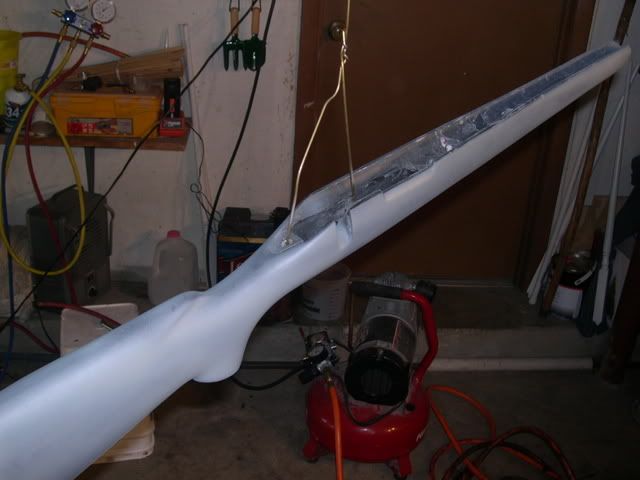
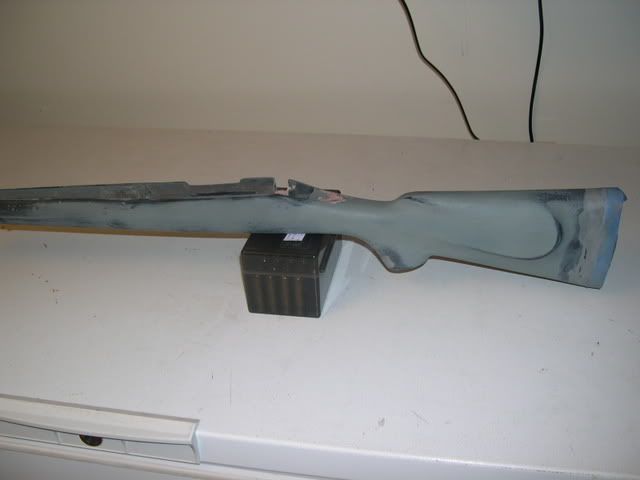
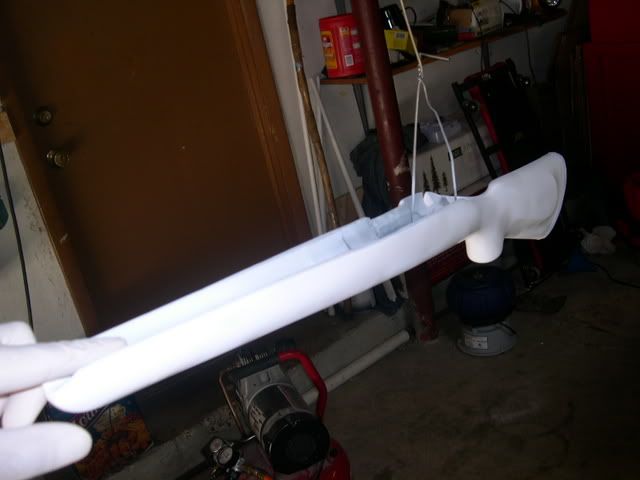
When I was comfortable with the finish I sprayed my base coat. For my color choices I went with a White base coat. The base coat was allowed to dry for a day.
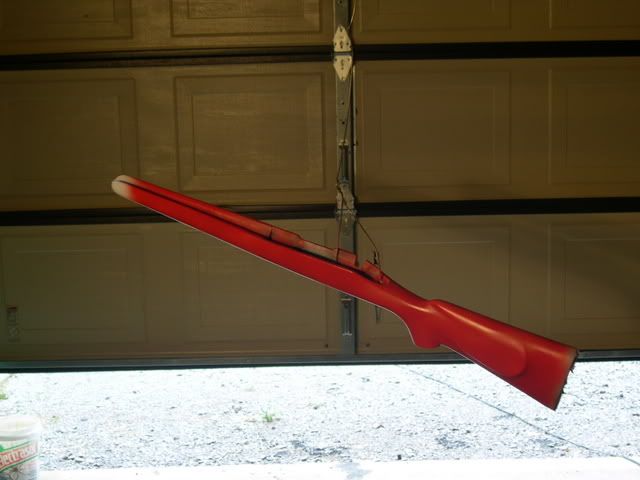
To get the color of Orange I wanted I ordered 4 oz of Red and 4 oz of Yellow. I mixed them until I got the shade of Orange I liked and then sprayed the stock, leaving the tip White.
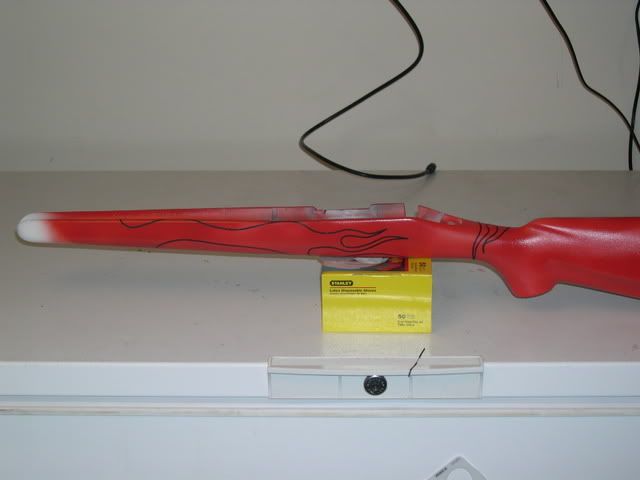
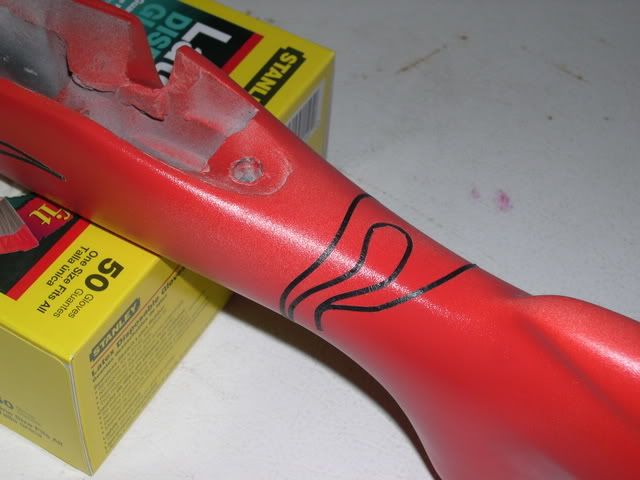
I next let the Orange dry a day before laying out my pattern of flames. I used 1/8� and 1/16� art layout tape and freehanded the flames. When I was comfortable with the basic layout I masked inside the flames and the tip.
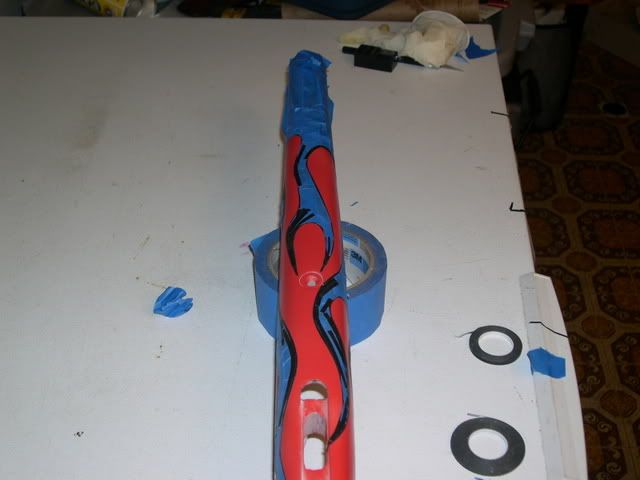
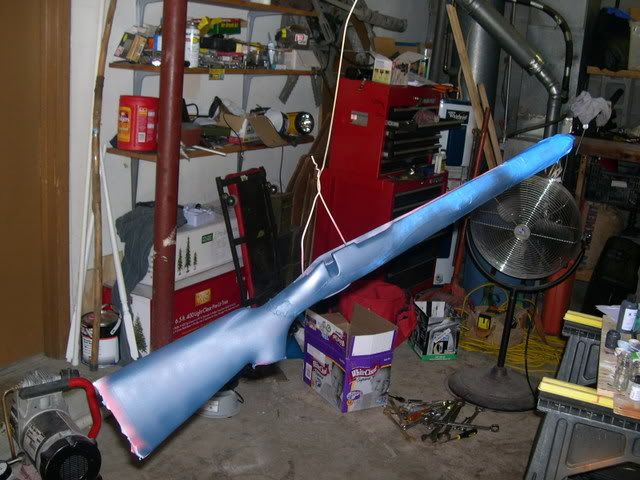
To get the main body color (Navy Blue) I mixed Matte black with Royal Blue. I wasn�t happy with a couple of little things so I reworked the flames slightly and re-sprayed the blue.
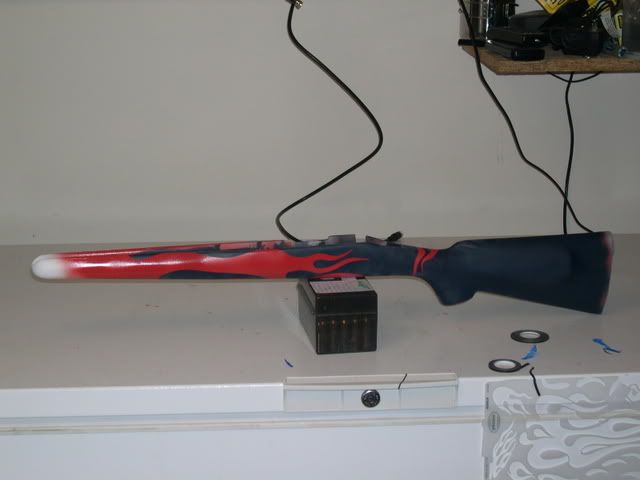
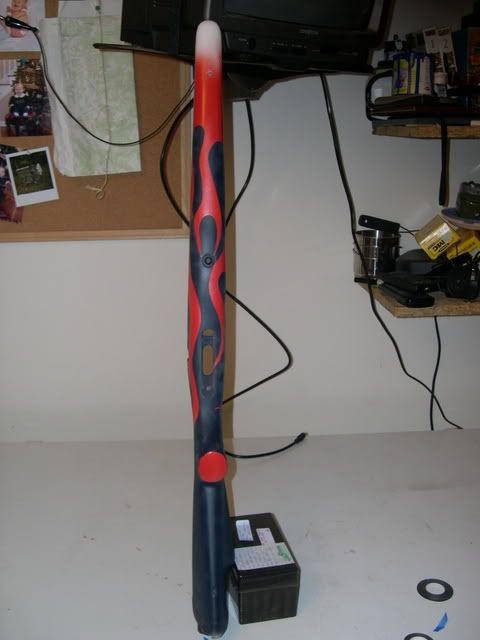
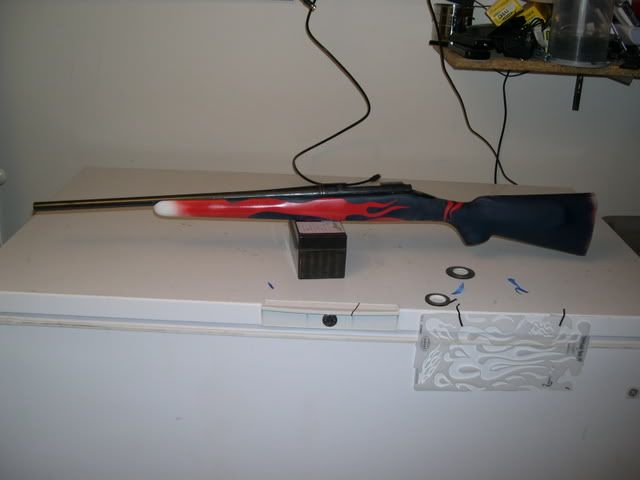
After letting that set up a day I clear coated it in Gloss. I am pretty pleased with the results.
Pmc
I started by acquiring a stock a couple of years back. It is a Remington Ti takeoff. It had previously been bedded and had a 1� pad on it. I cut off the pad to get to a shorter LOP for youth length.

Next I installed a secret special pad. It is cut from a .99 cent flip flop. I superglued it in place and the ground it down to close to final dimensions. The project then sat for a few months waiting.
After a couple of months I was ready to bed my action. It took a few hours with a dremel to remove the old bedding. I bedded the action and 1.5� in front of the lug with devcon steel bed. It turned out ok, a couple of voids but nothing too bad. With the action completed I turned to the barrel. The previous owner had opened up the barrel channel. I wrapped the barrel in 7 layers of clean release masking tape (blue) for a thickness of .035� free float.


With the bedding complete, I turned to the exterior. Ti stocks come with a black pimply finish. I started sanding with 150 grit and a sanding block. A few imperfections were fixed by making up small batches of bondo. When the bondo dries you sand it back down. After the 150 grit comes 220 and the 320. When the stock is close I sprayed the first primer coat. I used gray. This really shows the imperfections. A little body putty (kind of like premixed bondo in a toothpaste tube) and some more sanding with 600 grit then 800, 1200 and 1500 wet sanding.


When I was comfortable with the finish I sprayed my base coat. For my color choices I went with a White base coat. The base coat was allowed to dry for a day.

To get the color of Orange I wanted I ordered 4 oz of Red and 4 oz of Yellow. I mixed them until I got the shade of Orange I liked and then sprayed the stock, leaving the tip White.

I next let the Orange dry a day before laying out my pattern of flames. I used 1/8� and 1/16� art layout tape and freehanded the flames. When I was comfortable with the basic layout I masked inside the flames and the tip.


To get the main body color (Navy Blue) I mixed Matte black with Royal Blue. I wasn�t happy with a couple of little things so I reworked the flames slightly and re-sprayed the blue.


After letting that set up a day I clear coated it in Gloss. I am pretty pleased with the results.
Pmc
